How to Crochet the Donatella Clutch: A Beginner-Friendly Tutorial
Make a chunky crochet clutch with an oval base and a covered spring closure. This guide follows Katy Handmade’s Donatella video below. The sample uses magenta Lycra ribbon yarn; choose your own color.
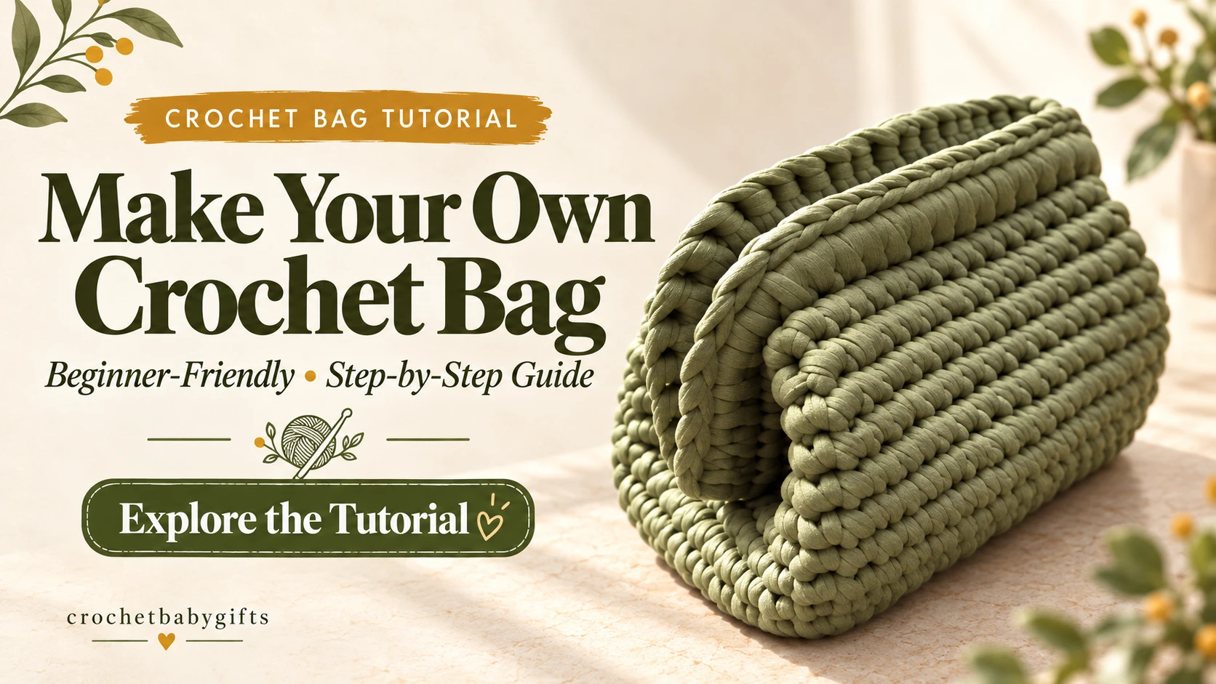
We have not made this clutch ourselves yet. The steps and measurements follow the video.
Watch the tutorial
Use the timestamps beside each step to find the matching demonstration.
What you need
- 500 g Lycra ribbon yarn: the flat, stretchy tape used in the video.
- 19 cm spring bag closure: the frame that opens and closes the clutch.
- 10 mm crochet hook.
- Yarn needle, scissors, and a stitch marker.
- Glue for securing the yarn around the frame, plus short pieces of ribbon yarn for temporarily holding it in place.
The sample starts with a chain measuring 16 cm, has a base approximately 26 × 11 cm, and reaches approximately 14 cm in height after seven body rounds. These are the creator’s sample measurements, not guaranteed results with every yarn or tension.
Terms used here: US single crochet (sc); an increase means two single crochets in one stitch; a slip stitch joins a round without adding height. A spiral means continuing into the next round without joining.
1. Prepare the yarn and make the starting chain
Video: 1:53–2:50
Gently stretch the Lycra ribbon so its edges curl into a tube. Make 13 chains for the sample, aiming for 16 cm, the internal measurement used for the tutorial’s closure.
Katy briefly demonstrates with a smaller frame, but the measurements she gives are for her 19 cm closure. Match the stated sample measurements rather than copying the smaller frame shown at that moment.
2. Crochet the first oval round
Video: 2:50–4:16
Starting in the second chain from the hook, work one single crochet in each chain. Work three single crochets in the last chain to turn around the end.
Continue along the unused side of the starting chain, working one single crochet in each chain. At the starting end, add two single crochets to the chain that already contains the first stitch, making three stitches at that end too. Join to the first stitch with a slip stitch.
3. Widen the base with two more rounds
Video: 4:22–9:34
Second base round: Chain one and increase in the same stitch. Work one single crochet in each stitch along the straight side. At the opposite rounded end, increase in each of the three end stitches. Continue along the other straight side, then increase in the two remaining end stitches; the first end increase was already worked at the start. Join with a slip stitch.
Third base round: Chain one and increase in the first stitch. Work single crochets until you reach the second stitch of the first increase at the opposite end. Work: increase, one single crochet, increase, one single crochet, increase. Continue along the straight side. At the corresponding position on the starting end, work increase, one single crochet, increase, one single crochet, then join with a slip stitch. The third increase at this end was worked at the beginning.
The base should now measure approximately 26 × 11 cm. Katy deliberately makes it wider than the frame, leaving roughly 3 cm extra on each side to help with attachment.
4. Build the body
Video: 9:41–12:34
Chain one and work one single crochet in every stitch around the base. Continue into the next round without a slip-stitch join. Place a marker in its first stitch and move the marker to the first stitch of every new round.
Work one single crochet in each stitch, without further increases, for seven body rounds in total. Count the first round immediately after the base as body round one. The sample reaches approximately 14 cm high.
Keep the reverse side of the single crochet facing outward for the texture shown. The video’s translated phrase “purl single crochet” describes this reverse-side appearance; the demonstrated body is worked in ordinary single crochet.
5. Finish the crochet body
Video: 12:34–13:12
Cut the yarn and thread the tail onto the needle. Follow the needle finish shown at 12:43, passing through the first stitch to close the round neatly. Bring the tail to the inside and hide it between the stitches.
6. Cover and position the spring frame
Video: 13:21–15:12
Cut two pieces of ribbon yarn long enough to cover the two frame sections. Secure one end with glue, wrap the yarn around the tubular frame, then glue the other end in place. Repeat on the other section.
Position the covered frame at the bag opening. Use short ribbon ties to hold it temporarily. Center the frame’s short sides using the center of the base as your alignment guide.
7. Crochet the frame onto the bag
Video: 15:12–17:43
Make a starting loop on your hook. Katy begins at the first stitch after a frame screw. Take only the outer half-loop of the bag’s top-edge stitch, then work a single crochet around the frame to attach it. Repeat for each following stitch.
At a screw, work one loose chain, move to the next stitch on the other side, and continue attaching the frame. Repeat at the other screw. Remove the temporary ties as you reach them.
Complete the remaining stitch at the starting point, cut the yarn, and use the needle finish demonstrated at 17:43 to close the attachment round. The finished clutch appears at 17:58.
Before you finish
- Base: approximately 26 × 11 cm for the sample.
- Body: seven rounds, approximately 14 cm high.
- Reverse-side texture faces outward.
- Frame centered, wrapped, and attached around the opening.
- Loose chain at each screw; temporary ties removed.
- Yarn ends hidden inside.
Need help? For the base increases, replay 4:22–8:35. For centering the frame, replay 14:32–15:12. For attaching around the screws, replay 16:38–17:43. These close-ups show the exact stitch and frame positions.
Tutorial credit: Katy Handmade, “Donatella” crochet clutch. Written by crochetbabygifts from the linked video; crochet terms are presented in US English.